> ## Documentation Index
> Fetch the complete documentation index at: https://docs.prompteus.com/llms.txt
> Use this file to discover all available pages before exploring further.
# MCP Servers
> Connect remote MCP Servers to access Resources and Tools in your Neurons.
MCP Servers, and specifically the use of remote MCP servers, are nascent
technology subject to rapid and frequent change.
## Introduction
[Model Context Protocol (MCP)](https://modelcontextprotocol.io/introduction) is an open protocol that standardizes how applications provide context to LLMs.
The MCP Servers feature in Prompteus allows users to import and configure remotely hosted MCP Servers over the [Streamable HTTP transport](https://modelcontextprotocol.io/specification/2025-03-26/basic/transports#streamable-http) to access and use [Resources](https://modelcontextprotocol.io/docs/concepts/resources) and [Tools](https://modelcontextprotocol.io/docs/concepts/tools) in your Neurons.
Specification around remote MCP Servers are [still in
development](https://modelcontextprotocol.io/quickstart/server#why-claude-for-desktop-and-not-claude-ai).
In the MCP [General architecture](https://modelcontextprotocol.io/introduction#general-architecture), Prompteus is an MCP Host, and Neurons (and more specifically, the Call AI Model node) within Prompteus are MCP Clients.
## Importing an MCP Server
To import an MCP Server in Prompteus:
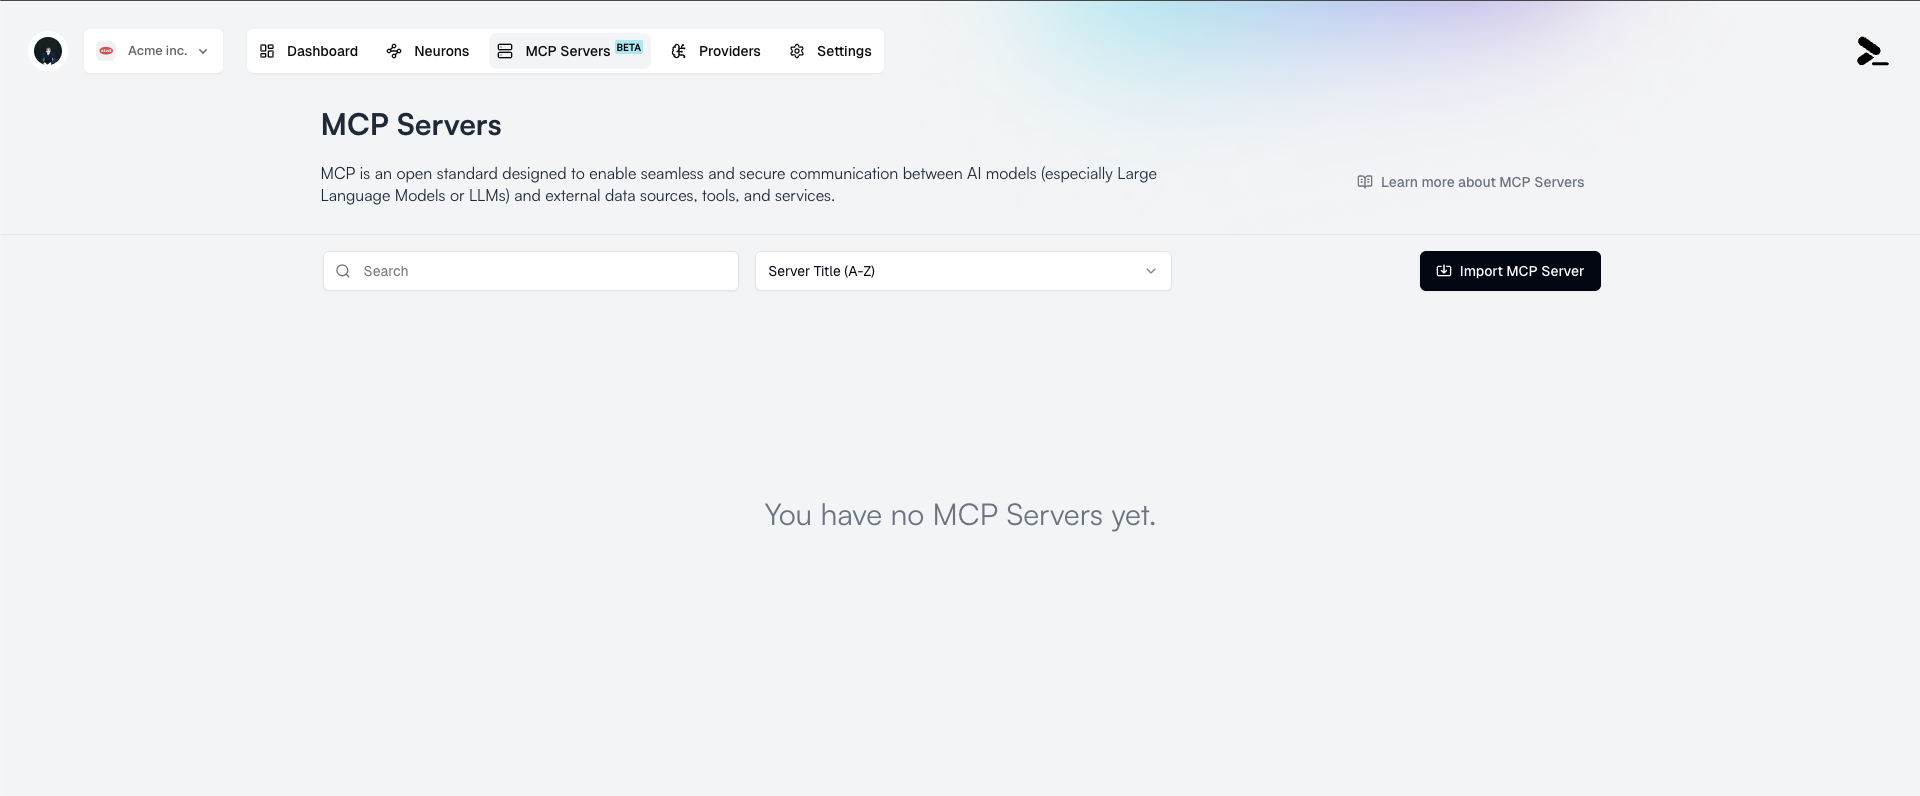
1. Navigate to the MCP Servers page, then click the **Import MCP Server** button.
 2. Enter in the required fields:
* **MCP Server URL**: The URL of the MCP Server you want to import.
* **Authentication Type**: The authentication type for the MCP Server (default is None).
2. Enter in the required fields:
* **MCP Server URL**: The URL of the MCP Server you want to import.
* **Authentication Type**: The authentication type for the MCP Server (default is None).
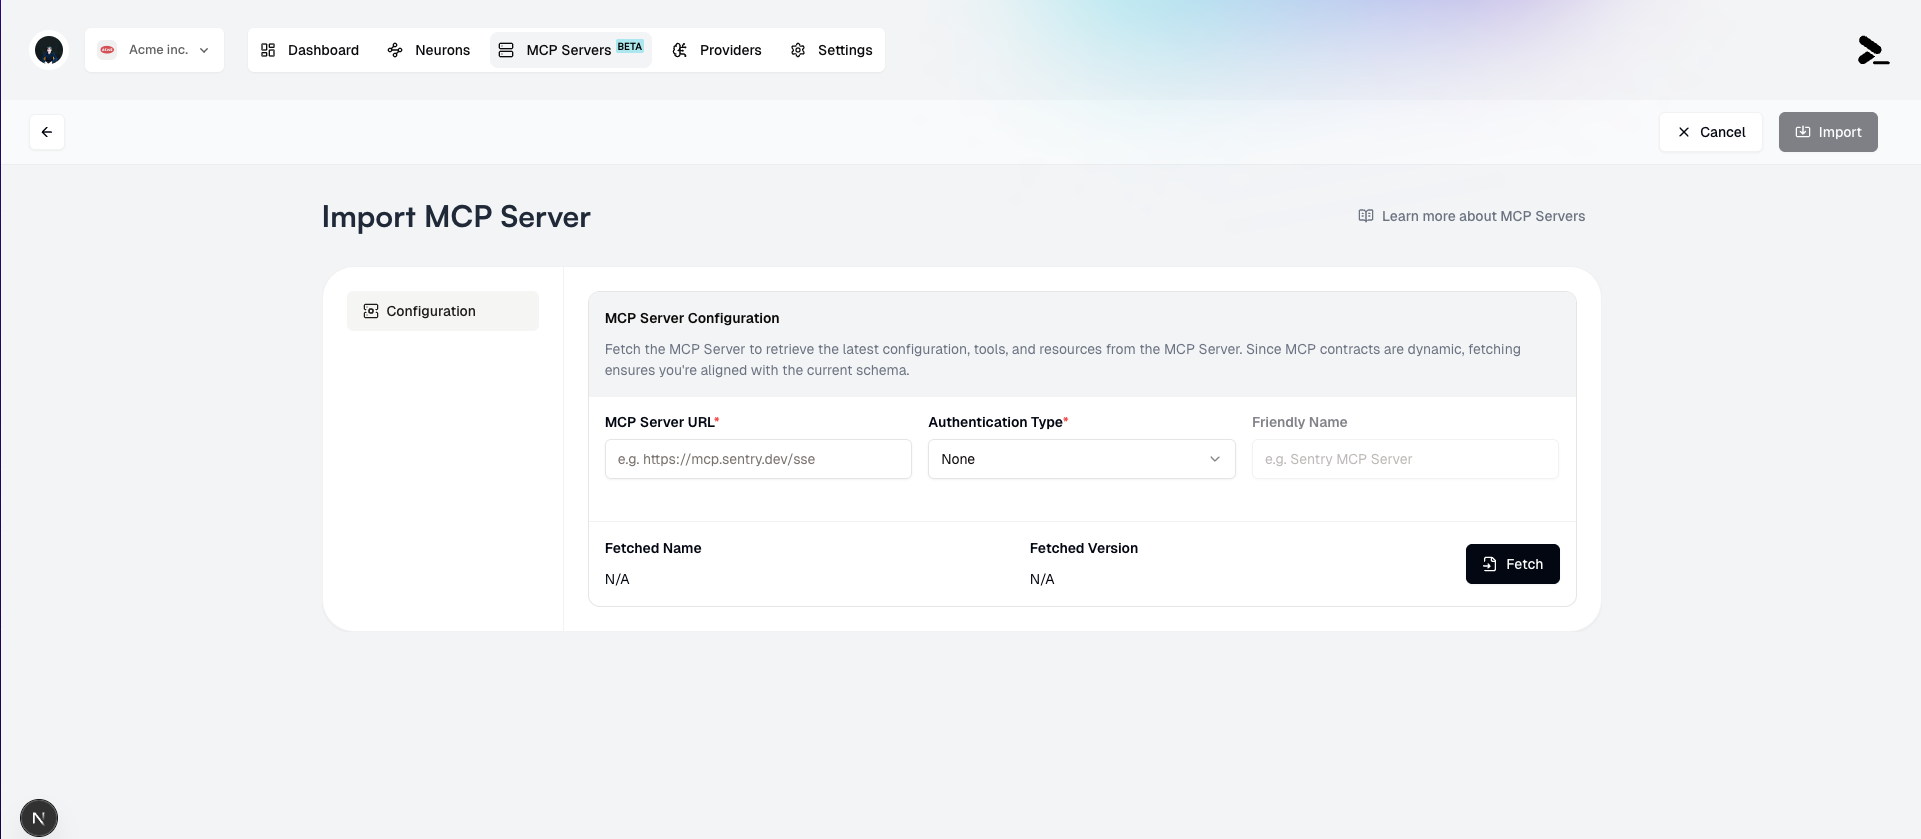 3. Click the **Fetch** button to validate the URL and initialize the server.
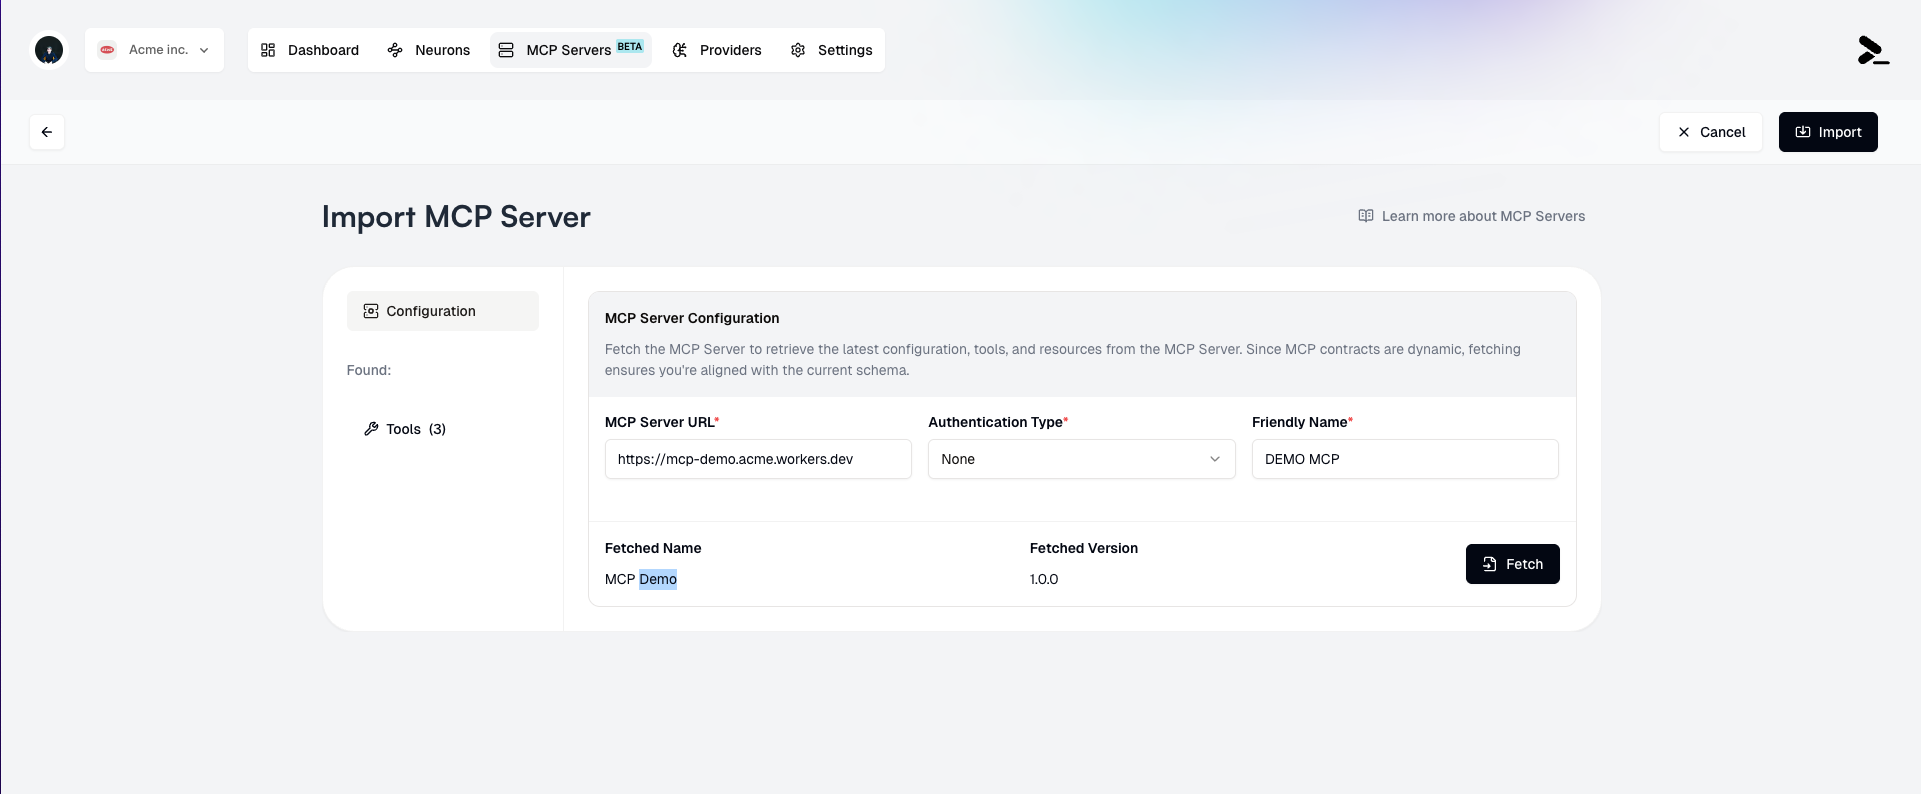
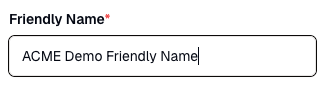
 4. Add a **Friendly Name** for the MCP Server if desired. This is optional, but may be useful for distinguishing between multiple MCP Servers that have different subsets of **Tools** and **Resources** selected.
 5. If the server is successfully initialized, you will see a list of available **Tools** and **Resources** for selection.
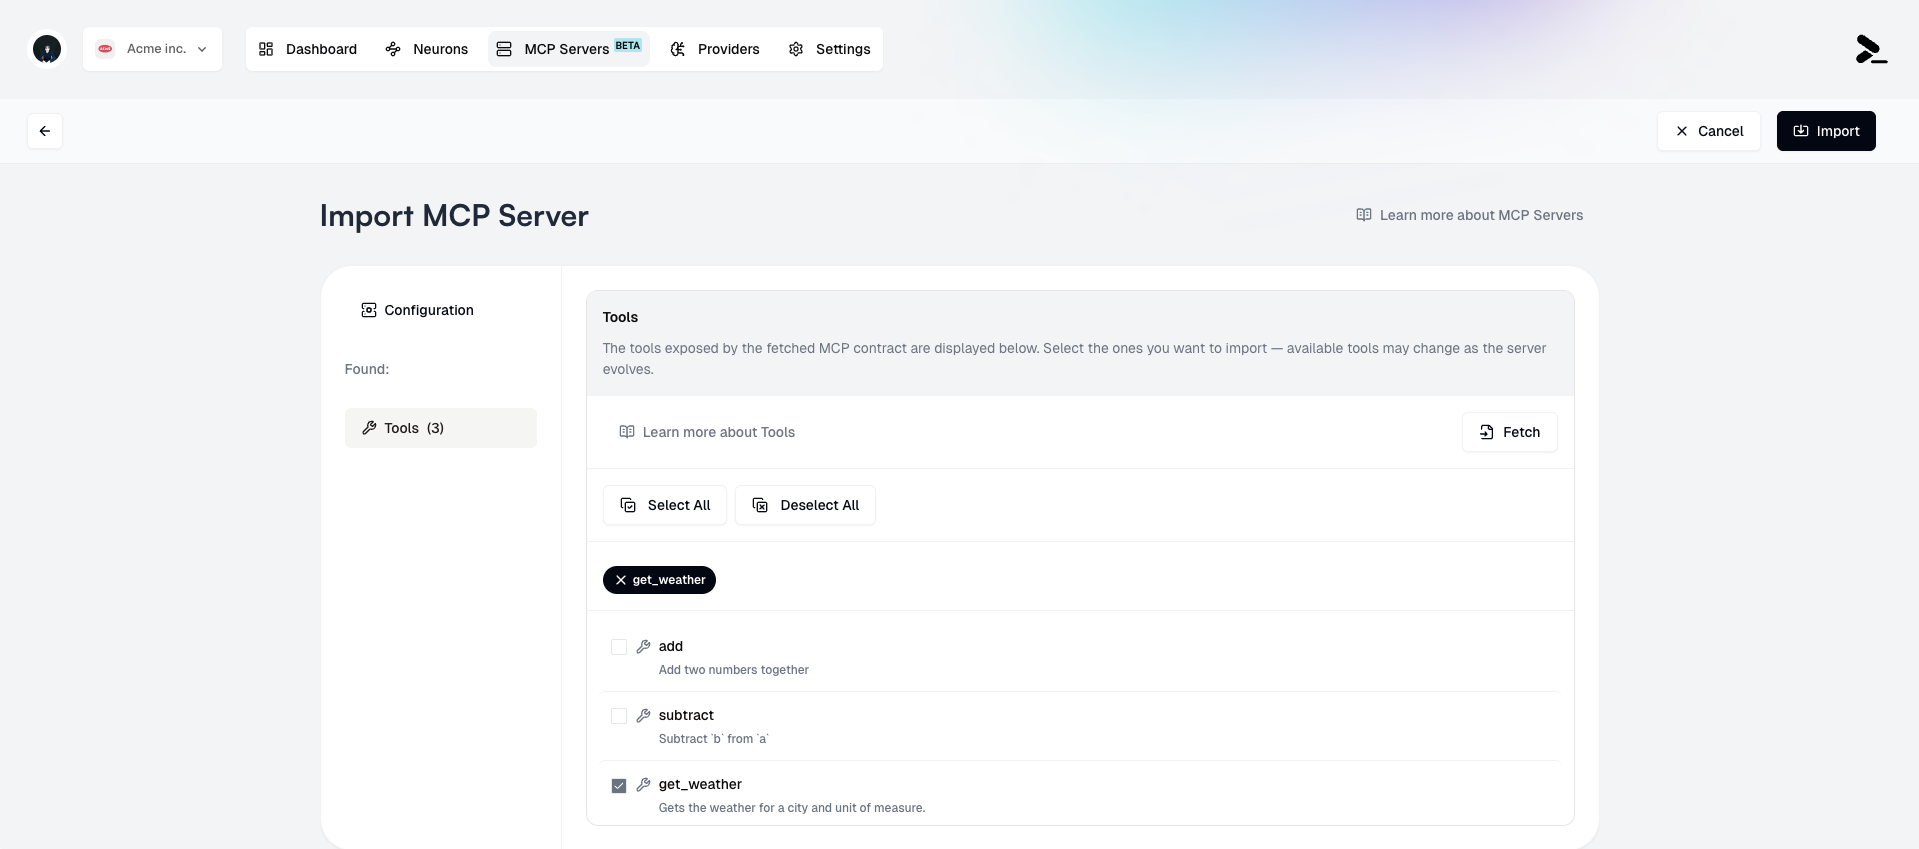 6. Select the **Tools** and **Resources** you want to import from the MCP Server.
Users may import the same MCP Server multiple times, with different subsets of
**Tools** and **Resources** selected.
6. Select the **Tools** and **Resources** you want to import from the MCP Server.
Users may import the same MCP Server multiple times, with different subsets of
**Tools** and **Resources** selected.
 7. Click the **Import** button to finish the import.
 ## Using an MCP Server in a Neuron workflow
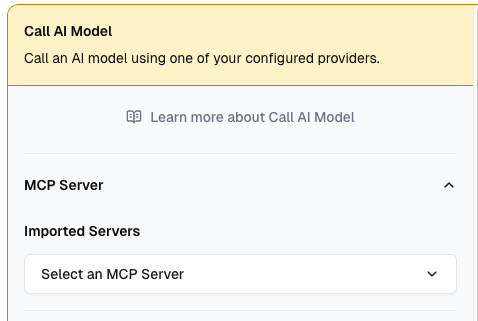
**MCP Servers** are accessed from the [Call AI Model](/neurons/editor/nodes/call-ai-model) node in the Neuron workflow.
To use an MCP Server's tools or resources in a Neuron workflow:
1. Navigate to the [editor](/neurons/editor/visual-editor) of a Neuron.
2. Add a [Call AI Model](/neurons/editor/nodes/call-ai-model) node to the workflow, if one doesn't already exist.
3. In the [Call AI Model](/neurons/editor/nodes/call-ai-model) node's settings, select one or more MCP Servers from the **Select an MCP Server** dropdown.
If you have multiple MCP Servers imported, you can select multiple MCP Servers
to use in a single Neuron workflow. Setting clear and descriptive **Friendly
Names** for MCP Servers can help you distinguish between them.
## Using an MCP Server in a Neuron workflow
**MCP Servers** are accessed from the [Call AI Model](/neurons/editor/nodes/call-ai-model) node in the Neuron workflow.
To use an MCP Server's tools or resources in a Neuron workflow:
1. Navigate to the [editor](/neurons/editor/visual-editor) of a Neuron.
2. Add a [Call AI Model](/neurons/editor/nodes/call-ai-model) node to the workflow, if one doesn't already exist.
3. In the [Call AI Model](/neurons/editor/nodes/call-ai-model) node's settings, select one or more MCP Servers from the **Select an MCP Server** dropdown.
If you have multiple MCP Servers imported, you can select multiple MCP Servers
to use in a single Neuron workflow. Setting clear and descriptive **Friendly
Names** for MCP Servers can help you distinguish between them.
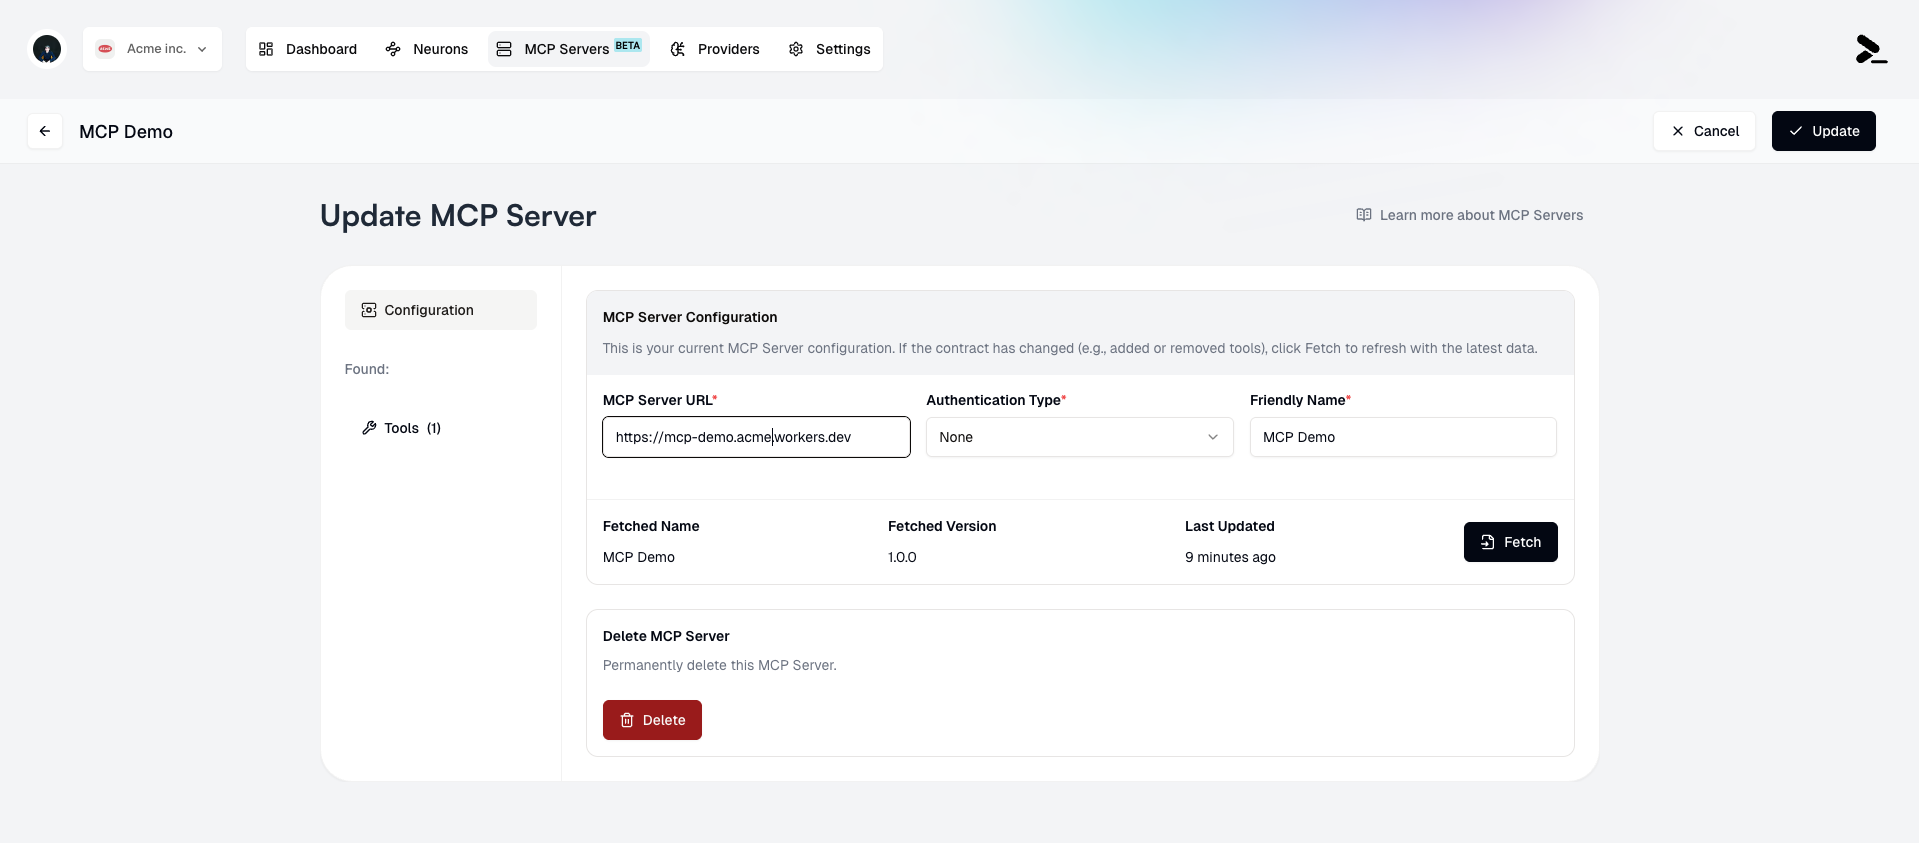
 ## Modifying or deleting an existing MCP Server
### Editing an MCP Server's Configuration
To make changes to an existing MCP Server:
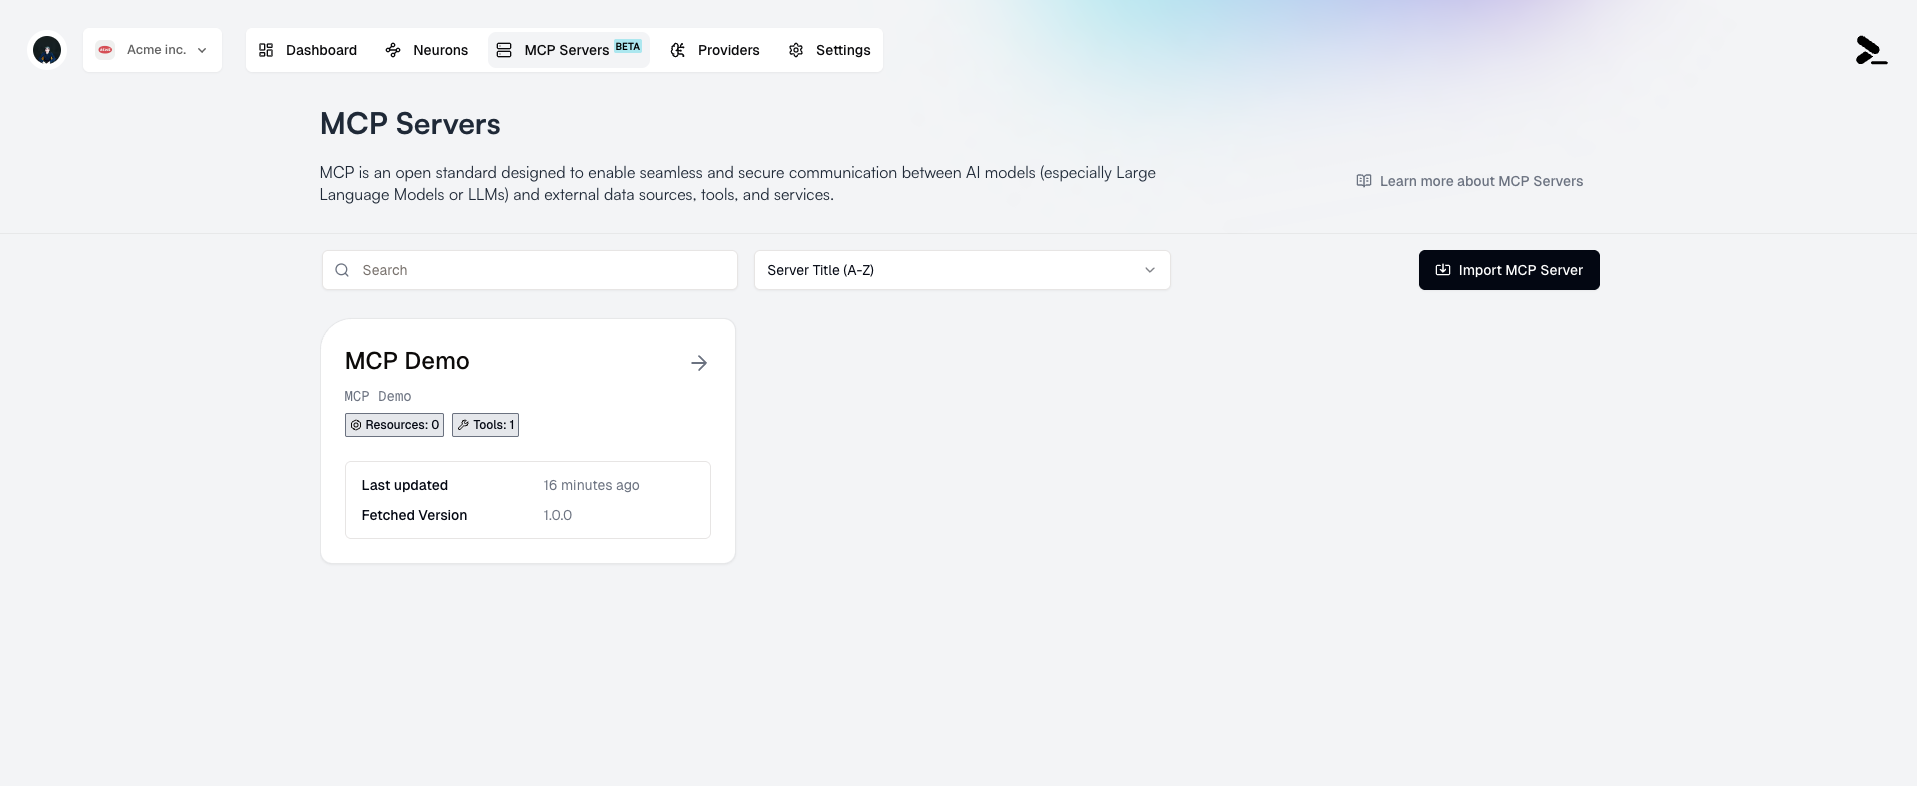
1. Select it from the list of MCP Servers by clicking it's card.
## Modifying or deleting an existing MCP Server
### Editing an MCP Server's Configuration
To make changes to an existing MCP Server:
1. Select it from the list of MCP Servers by clicking it's card.
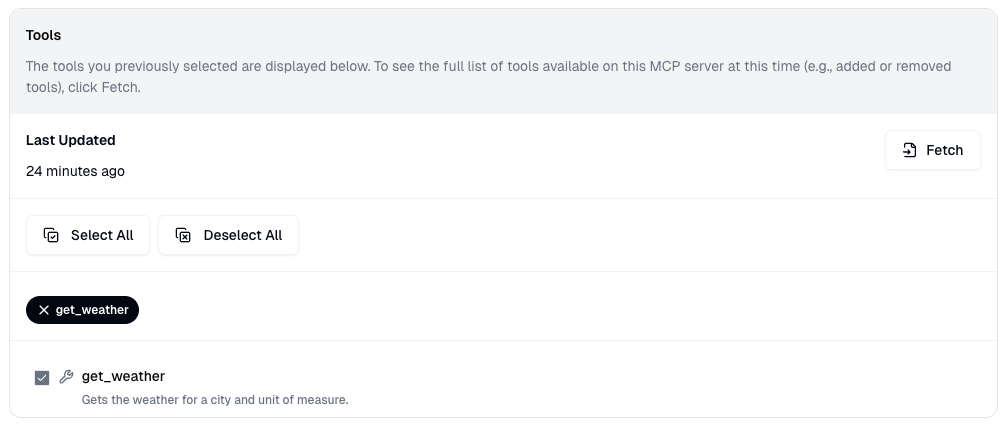
 2. Make changes such as:
* Update the **MCP Server URL** (requires revalidation of the server)
* Update the **Authentication Type** (requires revalidation of the server)
* Update the **Friendly Name**
* Update the selected **Tools** and **Resources**
2. Make changes such as:
* Update the **MCP Server URL** (requires revalidation of the server)
* Update the **Authentication Type** (requires revalidation of the server)
* Update the **Friendly Name**
* Update the selected **Tools** and **Resources**

 3. Click the **Update** button to save the changes.
 ### Deleting an MCP Server
To delete an MCP Server:
1. Select it from the list of MCP Servers by clicking it's card.
2. Click the **Delete** button to delete the MCP Server.
### Deleting an MCP Server
To delete an MCP Server:
1. Select it from the list of MCP Servers by clicking it's card.
2. Click the **Delete** button to delete the MCP Server.
 3. Confirm the deletion.
MCP Servers cannot be deleted if they are used in any Neuron workflows. A
warning will be displayed if this is the case.
3. Confirm the deletion.
MCP Servers cannot be deleted if they are used in any Neuron workflows. A
warning will be displayed if this is the case.
 ## Limitations
* Prompteus only supports remote MCP Servers configured to use the [Streamable HTTP transport](https://modelcontextprotocol.io/specification/2025-03-26/basic/transports#streamable-http).
* MCP Servers in Prompteus currently do not support importing and using{" "}
[Prompts](https://modelcontextprotocol.io/docs/concepts/prompts) within
Neurons.
## Limitations
* Prompteus only supports remote MCP Servers configured to use the [Streamable HTTP transport](https://modelcontextprotocol.io/specification/2025-03-26/basic/transports#streamable-http).
* MCP Servers in Prompteus currently do not support importing and using{" "}
[Prompts](https://modelcontextprotocol.io/docs/concepts/prompts) within
Neurons.